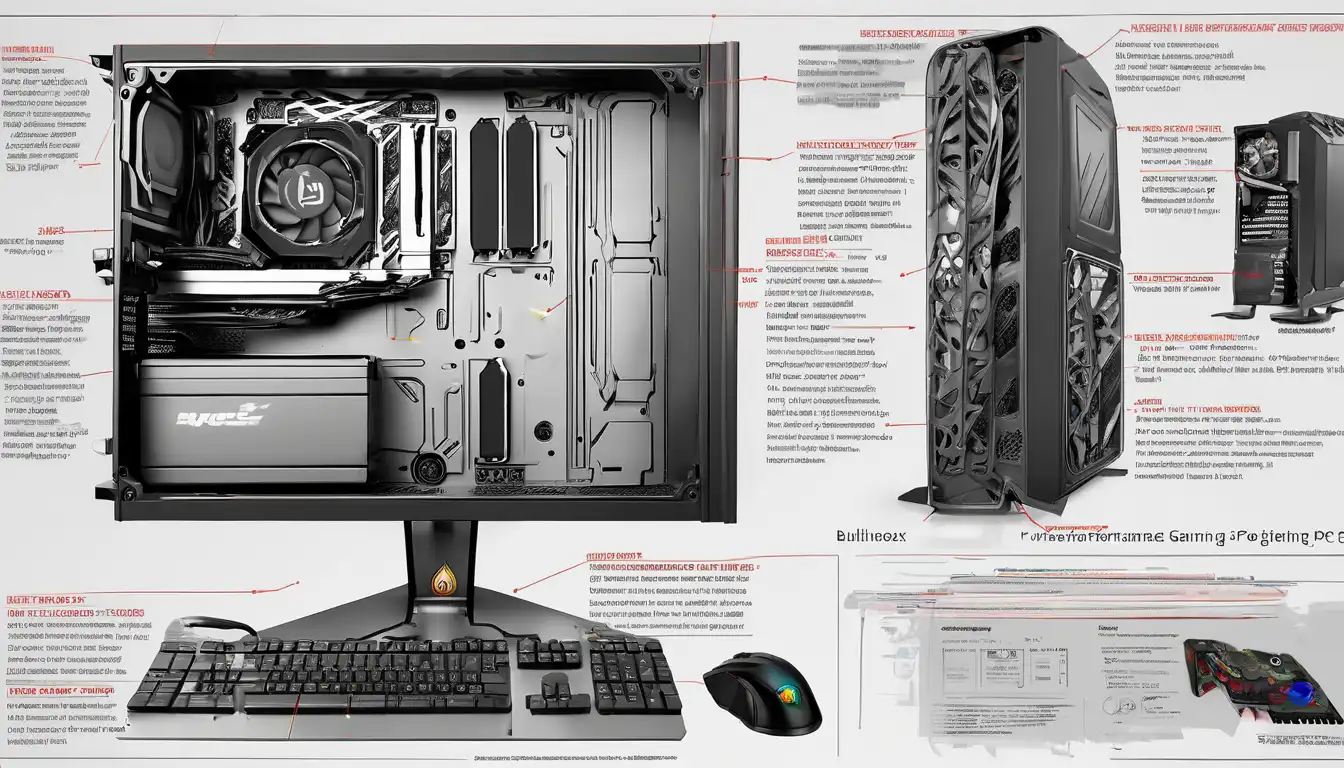
Introduction to High-Performance Gaming PCs
Building a high-performance gaming PC represents one of the most rewarding experiences for any gaming enthusiast. Unlike pre-built systems, custom-built gaming computers offer unparalleled flexibility, superior performance, and better value for your investment. This comprehensive guide will walk you through every step of creating a powerful gaming rig that can handle the latest AAA titles with ease while providing room for future upgrades.
Essential Components for Your Gaming Build
Central Processing Unit (CPU)
The CPU serves as the brain of your gaming PC, handling all computational tasks. For gaming purposes, focus on processors with high single-core performance. Intel Core i7 and i9 series or AMD Ryzen 7 and 9 processors offer excellent gaming performance. Consider your budget and gaming needs when selecting between these options.
Graphics Processing Unit (GPU)
Your graphics card is arguably the most critical component for gaming performance. NVIDIA GeForce RTX 30 and 40 series or AMD Radeon RX 6000 and 7000 series provide exceptional gaming capabilities. The GPU you choose will directly impact your gaming resolution, frame rates, and visual quality settings.
Motherboard Selection
The motherboard acts as the foundation connecting all your components. Ensure compatibility with your chosen CPU socket type and consider features like PCIe 4.0/5.0 support, multiple M.2 slots, and robust VRM designs for stable power delivery to your processor.
Memory (RAM)
For modern gaming, 16GB of DDR4 or DDR5 RAM represents the sweet spot, though 32GB provides better future-proofing. Opt for high-speed memory kits with low latency timings to maximize performance in memory-intensive games.
Storage Solutions
NVMe SSDs offer blazing-fast load times, while larger capacity SATA SSDs or HDDs provide affordable bulk storage. A combination of both ensures optimal performance and storage capacity for your gaming library.
Step-by-Step Assembly Process
Preparation and Safety
Before beginning assembly, gather all necessary tools including screwdrivers, anti-static wrist straps, and cable ties. Work in a clean, well-lit area and always ground yourself to prevent electrostatic discharge that could damage sensitive components.
Installing the CPU and Cooler
Carefully align the CPU with the motherboard socket, ensuring proper orientation. Apply thermal paste sparingly before mounting your CPU cooler. Whether choosing air cooling or liquid cooling, ensure proper mounting pressure and connectivity.
Memory and Storage Installation
Install RAM modules in the correct slots as specified by your motherboard manual for dual-channel operation. Mount your primary NVMe SSD directly to the motherboard and additional storage drives in appropriate bays.
Power Supply and Cable Management
Select a power supply with adequate wattage and efficiency rating. Modular PSUs simplify cable management, which improves airflow and system aesthetics. Route cables neatly behind the motherboard tray when possible.
Final Assembly and Testing
After installing all components, connect front panel headers, power buttons, and peripheral connections. Perform an initial power-on test outside the case before final assembly to troubleshoot any issues.
Performance Optimization Techniques
BIOS and Driver Updates
Always update your motherboard BIOS to the latest version and install current graphics drivers from NVIDIA or AMD. These updates often include performance improvements and bug fixes specific to gaming applications.
Overclocking Considerations
While overclocking can boost performance, approach it cautiously. Start with mild overclocks and stress test thoroughly. Consider our comprehensive overclocking guide for detailed instructions.
Cooling and Airflow Optimization
Proper cooling sustains peak performance during extended gaming sessions. Position case fans to create positive air pressure and consider additional cooling solutions for high-performance components.
Budgeting and Future-Proofing Strategies
Balancing Performance and Cost
Allocate your budget strategically, prioritizing components that directly impact gaming performance. The GPU typically deserves the largest portion of your budget, followed by the CPU and monitor.
Upgrade Pathways
Choose components that allow for future upgrades. A motherboard with additional PCIe slots and RAM capacity, along with a power supply with extra wattage headroom, ensures your system can grow with your gaming needs.
Peripheral Considerations
Don't overlook gaming peripherals. A quality gaming monitor with high refresh rates, responsive gaming mice, and mechanical keyboards significantly enhance your overall gaming experience. Check our gaming peripherals selection guide for recommendations.
Troubleshooting Common Issues
Boot Problems and Diagnostics
If your system fails to boot, systematically check connections, RAM seating, and power supply functionality. Most modern motherboards include diagnostic LEDs to help identify specific issues.
Performance Optimization
Monitor temperatures and performance metrics using software like MSI Afterburner or HWMonitor. Address thermal throttling or bottlenecking issues promptly to maintain optimal gaming performance.
Conclusion: Your Gaming Journey Begins
Building a high-performance gaming PC represents an investment in your gaming future. The knowledge gained through the building process empowers you to maintain, upgrade, and optimize your system for years to come. Remember that the perfect gaming PC balances performance, budget, and future upgrade potential. With careful planning and execution, you'll create a system that delivers exceptional gaming experiences across all your favorite titles.
For more advanced customization options and specialized builds, explore our PC modding and customization resources to take your gaming setup to the next level.
